PayByTime
App use · step by step

PayByTime Guide

This guide explains how to use the app: from opening PayByTime and entering your personal settings to entering a desired amount, using the optional camera scan, reading the result and adjusting settings.

1. Open the app and see the start screen

After tapping the app icon, PayByTime starts with a short logo and start area. Then you continue into the app workflow.

PayByTime logo screen
Logo screen
PayByTime start screen
Start screen
1

What happens after opening?

PayByTime starts with a short visual introduction. The start area confirms that you are in the app and then leads you to setup or directly to entering your desired amount.

Once the app is set up, it should get you to the actual task quickly: entering a wish, price or amount and understanding the working-time result.

2. First steps

On first launch, PayByTime briefly explains which information is needed and why.

PayByTime first steps screen
First steps screen
2

Why does this notice exist?

The notice explains once which data PayByTime needs to convert an amount of money into personal working time.

After setup, the app should be available faster the next time it is opened. You can hide this introduction and go directly to entering your wishes later.

“Do not show this message again”

If you enable the switch, the introduction is skipped on the next launch. You can turn it back on later in the settings.

3. Enter personal settings

PayByTime needs this information to calculate your personal working time from a price. Usually it is only needed during first setup or when something changes.

1. Working time per week

Required. This shows how much time you work per week.

2. Net income + income currency

Required. Net income and currency belong together and form the calculation basis.

3. Working days per week

Optional. Relevant when commuting time should be included and for a day-based breakdown.

4. Commuting time per day

Optional. This means the additional time for travelling to work and back.

Enter working time per week
Working time per week

Working time per week

Enter how many hours and minutes you work per week. Example: 40:00 means 40 hours per week.

This information is necessary because PayByTime calculates your personal hourly value from working time and net income.

Monthly net income and income currency

Enter your monthly net income and select the currency in which you receive your income. This currency is your income currency.

This is useful, for example, if you live in one country but receive income in another currency or want to compare prices in a different currency.

Important: The income currency belongs to the net income. It is the basis for the calculation.
Net income and currency selection
Net income with currency selection
Workdays per week
Workdays
Commuting time per day
Commuting time

Workdays and commuting time

Workdays and commuting time are optional. They help PayByTime estimate your working time more precisely.

Workdays show how many days per week you actually go to work. This matters when commuting time plays a role.

Commuting time means the time needed to get to work and back for each workday. Entering it makes the result more realistic, because work can cost not only money but also additional life time around the actual job.

4. Enter a desired amount

On the main screen, enter the price or desired amount that you want to convert into working time.

Desired amount with foreign currency
Main screen with desired amount and foreign currency

Desired amount and desired currency

  1. Enter the amount of your wish.
  2. Select the currency of the price.
  3. Tap “Calculate”.

If the currency differs

If the desired currency differs from your income currency, PayByTime shows an additional orientation in your income currency. This helps you assess the wish based on your own income.

Check or edit an exchange rate

If you work with foreign currencies, PayByTime can show an orientation rate. You can check this rate and edit it manually if needed.

Manual control fits the privacy-focused approach of the app: PayByTime should not transmit unnecessary data and should not behave like a hidden financial or market-data app.

Note: Exchange rates are only for orientation. PayByTime is not financial advice and not a live exchange-rate app.
Edit exchange rate
Edit exchange rate
Exchange-rate research

5. Scan a price with the camera

The camera is an optional feature. You can use PayByTime at any time without the camera.

Allow camera access in iOS
iOS system dialog on first camera access
1

iOS asks before first camera access

When you tap the camera icon for the first time, iOS shows a system dialog. There you decide whether PayByTime may access the camera.

If you allow access, the camera can be opened for price-tag scanning. If you deny access, the app remains usable.

2

If camera access is denied

After denial, PayByTime shows its own notice. You can decide whether to enter the amount manually or open iPhone settings to allow camera access later.

  • Enter manually: You return to normal amount entry.
  • Open settings: You can allow camera access later in iOS.
PayByTime notice after denied camera access
PayByTime notice after denial
Camera available
Camera available
3

When the camera is available

Once camera access is allowed, you can scan a price tag. Hold the iPhone as steady as possible and align the camera so the price is clearly readable.

The app then tries to recognize the matching amount.

4

Multiple prices or no recognition

If several prices are recognized, check which amount is meant and choose the correct one.

If no price is recognized, enter the amount manually. The camera is helpful, but it is not required. Manual entry always remains the safe alternative.

Camera multiple recognition
Multiple recognition
Camera no recognition
No recognition

6. Read the result correctly

The result screen shows approximately how much working time is behind your desired amount.

PayByTime result with foreign currency
Result with foreign currency

Parts of the result screen

Main result

The main result shows the calculated working time in hours and minutes.

Conversion line

This line appears only if the desired currency differs from your income currency. If both currencies are the same, it is not shown.

Detailed result

The detailed result breaks the working time down into larger units. Only units that actually occur in the result are shown.

Orientation, not judgment: PayByTime does not tell you whether a wish is right or wrong. It only shows approximately how much working time is behind the amount.

7. Settings and privacy

In settings you control language, introduction notice, detailed-result display and camera use.

PayByTime settings part 1
Settings screen part 1
PayByTime settings part 2
Settings screen part 2

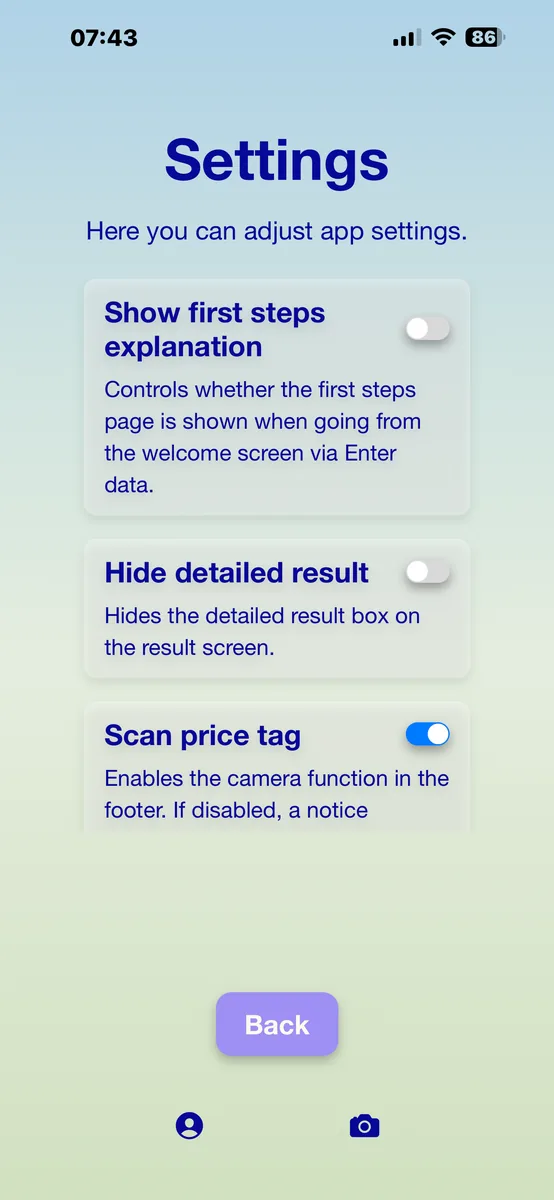
What you find in settings

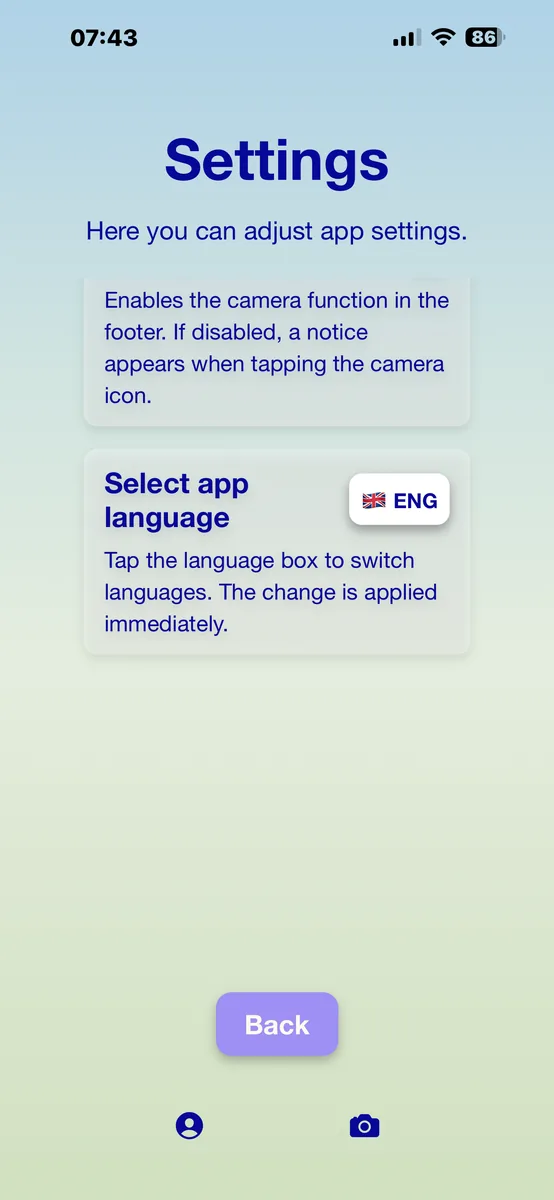
  • Change the app language
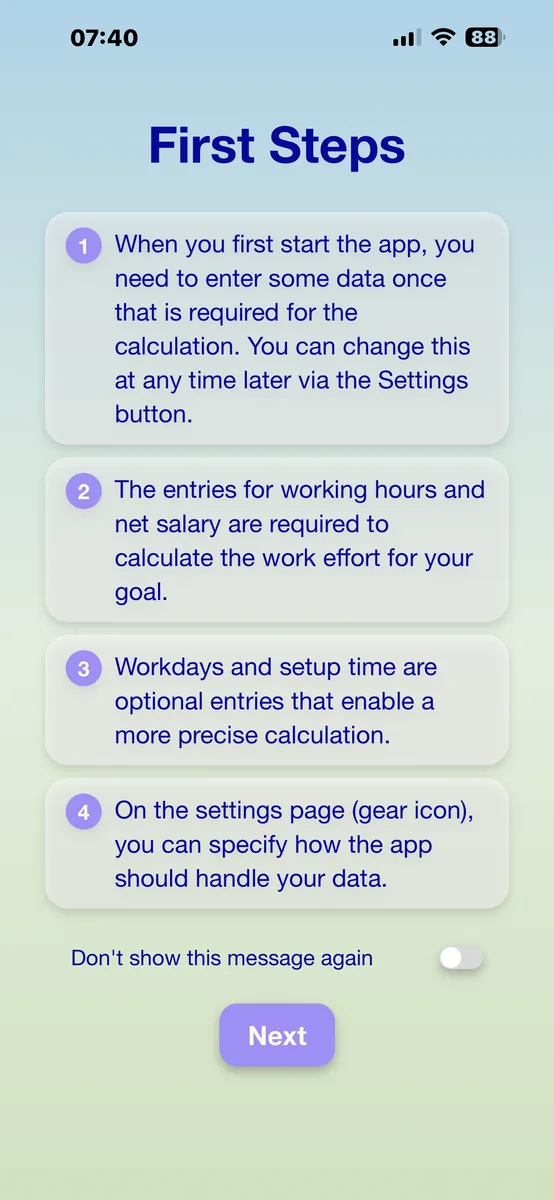
  • Show the introduction / “First steps” again
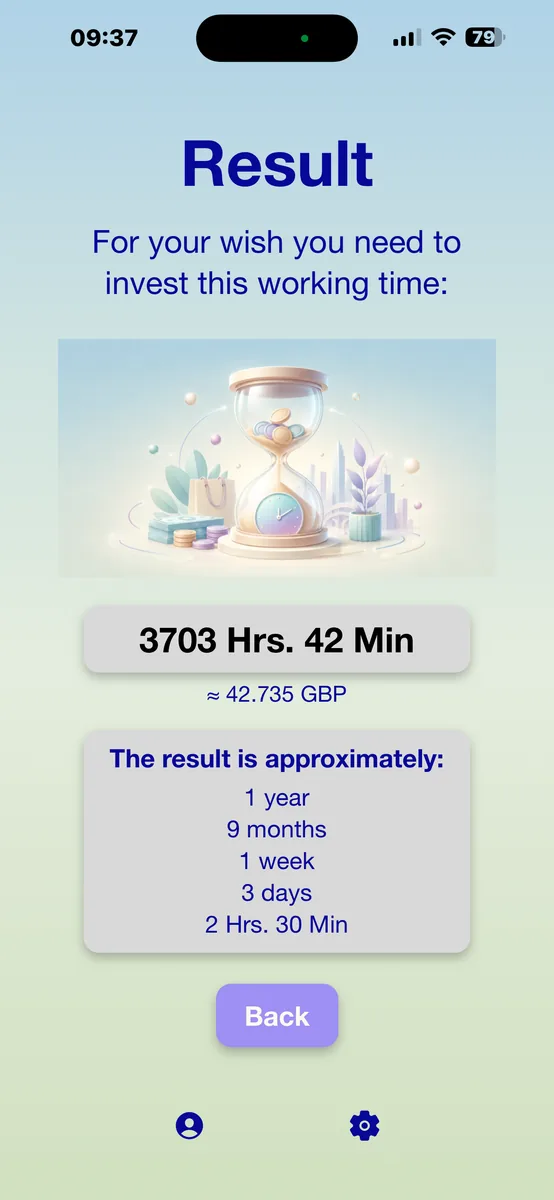
  • Show or hide the detailed result
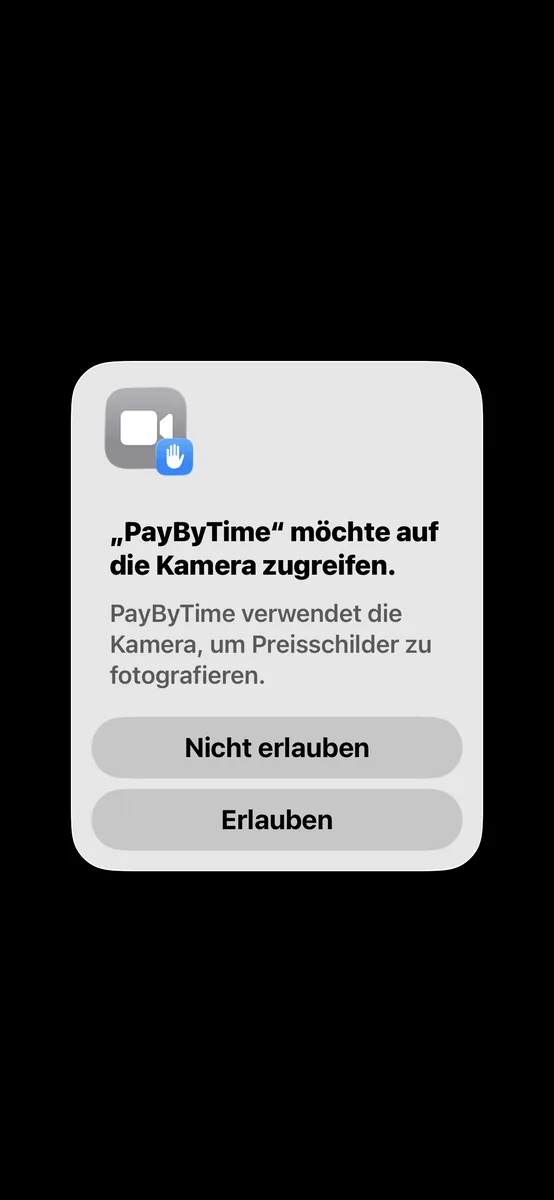
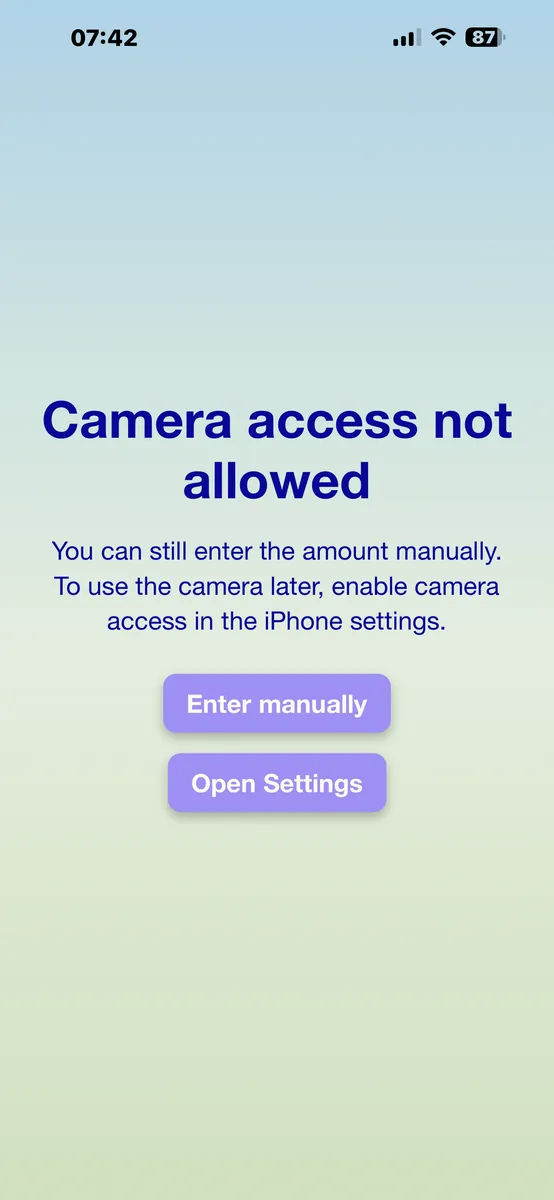
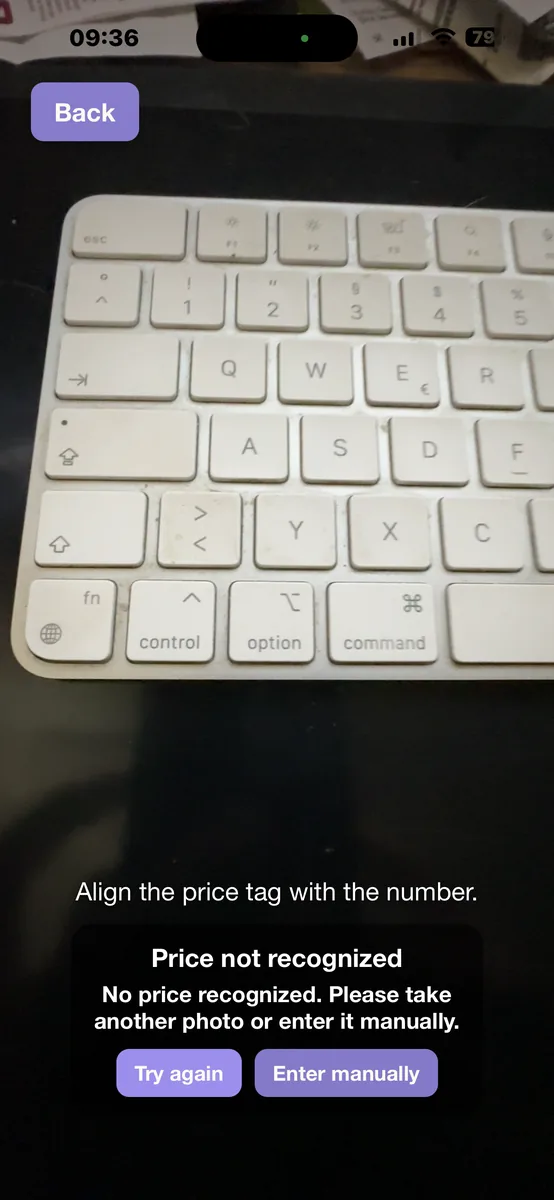
  • Disable or use the camera function again

Privacy principle

PayByTime is deliberately data-minimizing. The app works without registration and without a user account. For legally relevant information, the privacy policy on this website applies.

Why use these settings?

The app is designed to be quick to use while remaining understandable. That is why you can hide the detailed result or show the first-steps explanation again.

You can also decide how much personal information should remain available after a calculation. The detailed result and the camera function can be adjusted to match your own way of using the app.

Privacy principle: PayByTime is deliberately built to minimize data. The app works without registration and without a user account. For legally binding information, the privacy policy on this website applies.

Ready? Get PayByTime.

Download on the App Store Coming soon toGoogle Play QR code to the App Store Scan with your iPhone
and download directly

For iPhone & iPad · in ten languages · more countries to follow

Video guides

PayByTime explained in short videos

These short videos show the most important steps directly in the app: setup, camera access and price scanning. English videos may be added later.

1. Set up the app and calculate a first wish

Quick start: enter personal settings, enter a desired amount and understand the result.

2. Allow camera access

How to enable optional camera access if you want to scan prices directly.

3. Capture a price with the camera

How scanning works: align the price, check recognition and use the amount.

Music: “Corporate Minimal Ambient” by penguinmusic via Pixabay.